(Topic: Knitting, History)
Hi Friends!
Recently having finished a lot of baby stuff, I decided it was time to reach for some of my UFOs (UnFinished Objects) and get a few things done that have been lying around my project area for a while!
One of the projects I had half-done is called a “Sontag” (named after the opera singer who wore it) or a bosom friend (because of the way it wraps). It’s an 1860s shawl/sweater, and there was a pattern published in Godey’s Lady’s Book (popular women’s magazine of the day). Because we have an original source for it, many reenactors feel very comfortable making and wearing it!
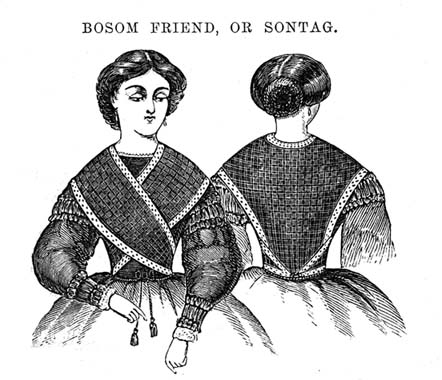 |
| image from Godey’s, used from www.raggedsoldier.com/pictures/needle/bosom_friend.jpg |
There are other original sources, too, such as photographs of women wearing different versions. I’m not going to post all sorts of pictures here, but if you google “knit sontag” you’ll find some old photographs and other original patterns mixed in with pictures of people wearing the ones they have made recently.
In fact, one reenactor (Ragged Soldier) even published a modernized pattern, since some of the terminology differed, and since we tend to write patterns out differently now. She’s not the only one who did, but hers is easy to find online on her blog (link above). I started out with her pattern, but when I picked it back up recently, I looked at the original again too, and used the original instructions and my knitting gut to finish it off.
 |
| The original pattern calls for scarlet wool; I went with two shades of brown. Only the dark part was done when it got lost in my bin of obscurity… |
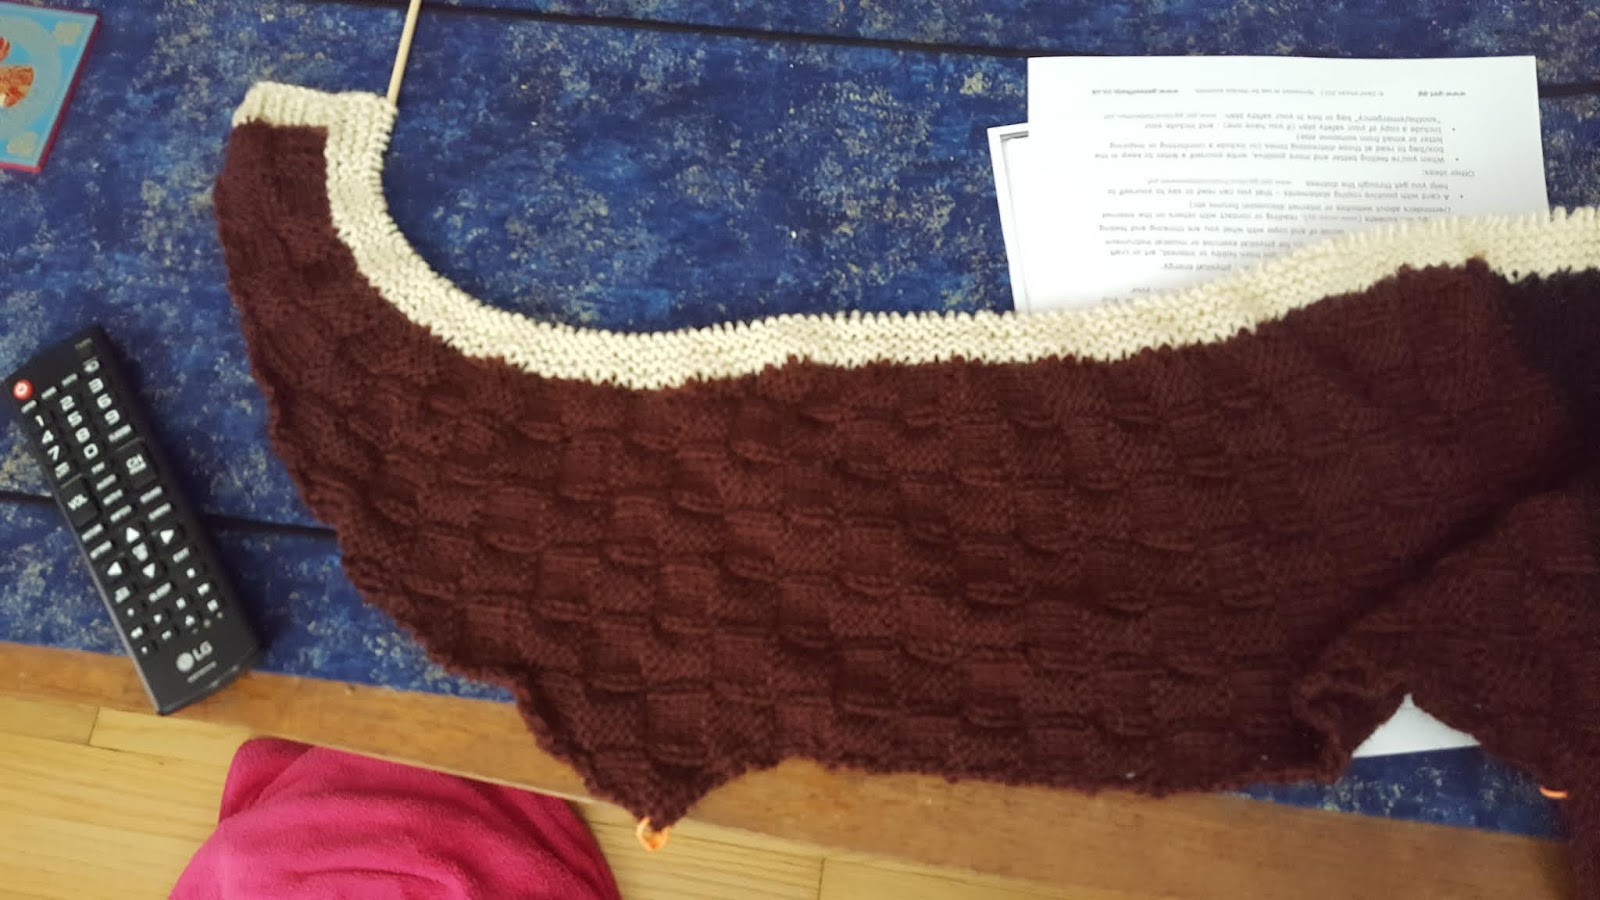 |
| When I got to the edging, I had no guide for how many stitches to pick up per side, so this first attempt had too few and curled my work. Note the corner in the bottom of the picture: I’m not sure whether I accidentally added it or if it was indicated in the original, but it sure shouldn’t be there! I had to creatively fix once I was done… |
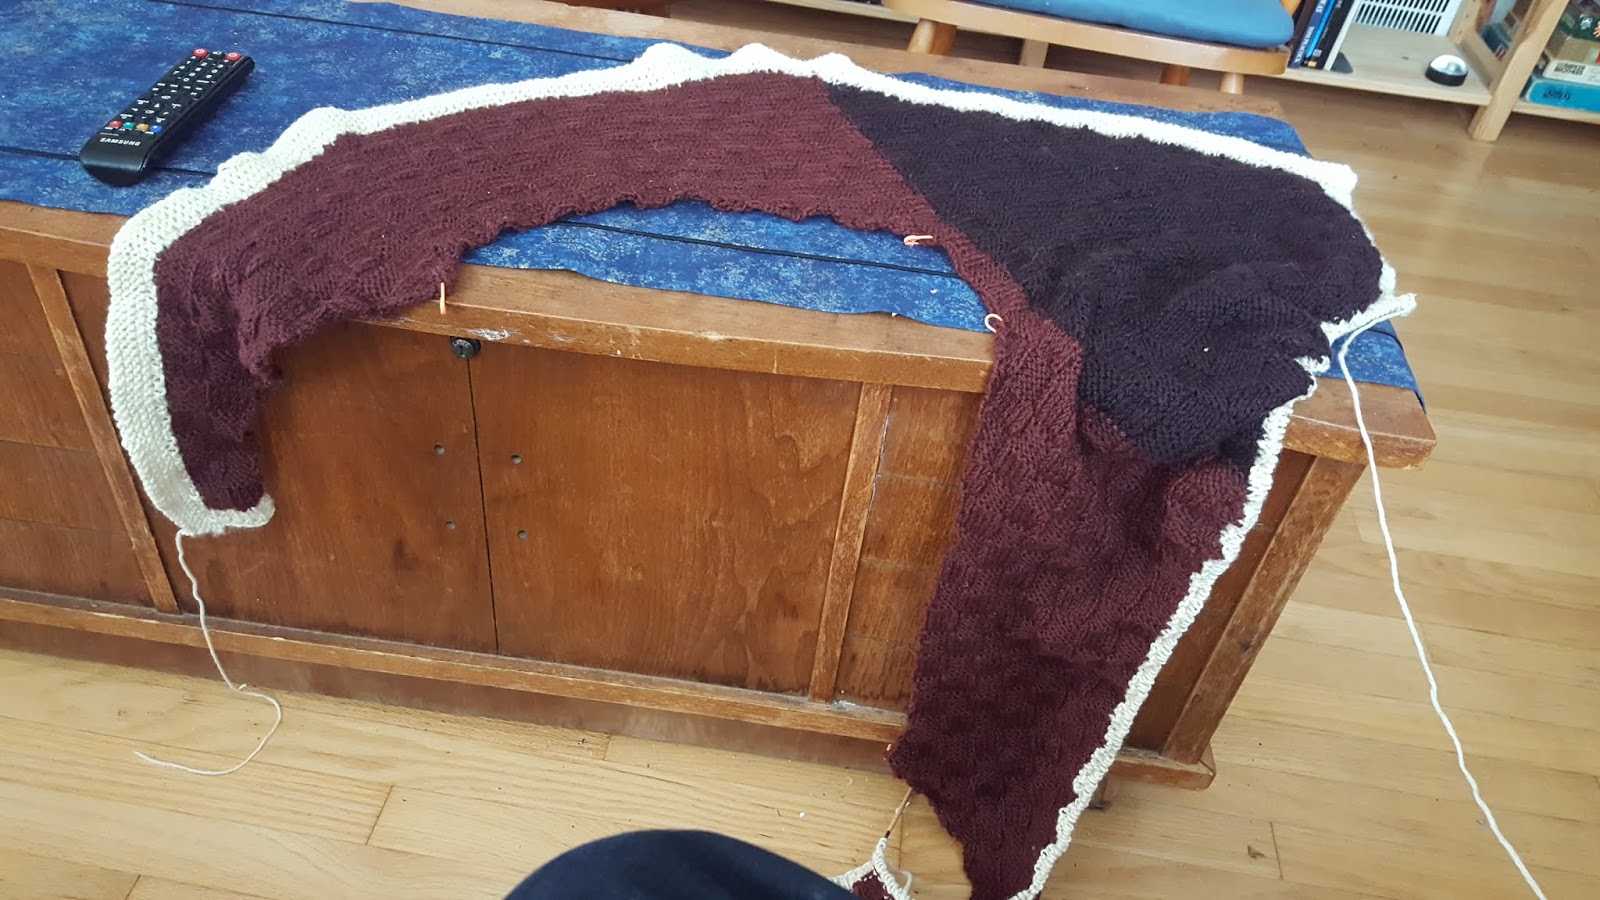 |
| Here you can see the shape of it, more or less. The dark brown is the back, the light brown comes over the shoulders and crosses in front, then wraps around the waist to the back. |
 |
| Border finished! There is still some waviness meaning I probably could have had fewer stitches in that middle section. |
 |
| Starting to look more like a finished product! Here, I’m playing around with the “ermine” stitching from the original pattern. It looks messy to me at this point, so I get some input from friends. |
 |
| One of them asked how many strands I was using, and that made the lightbulb go off! The top couple of stitches here have a double strand instead of single, and not only are they more visible, they are also more defined. I like it already. |
 |
| Starting the ermine over, this time all double strand thickness. |
 |
| A test photo, to be sure I still like how the ermine is progressing. Note the cord pulled to the left: that’s an I-cord, and I made 2 as ties. They are attached at the back. |
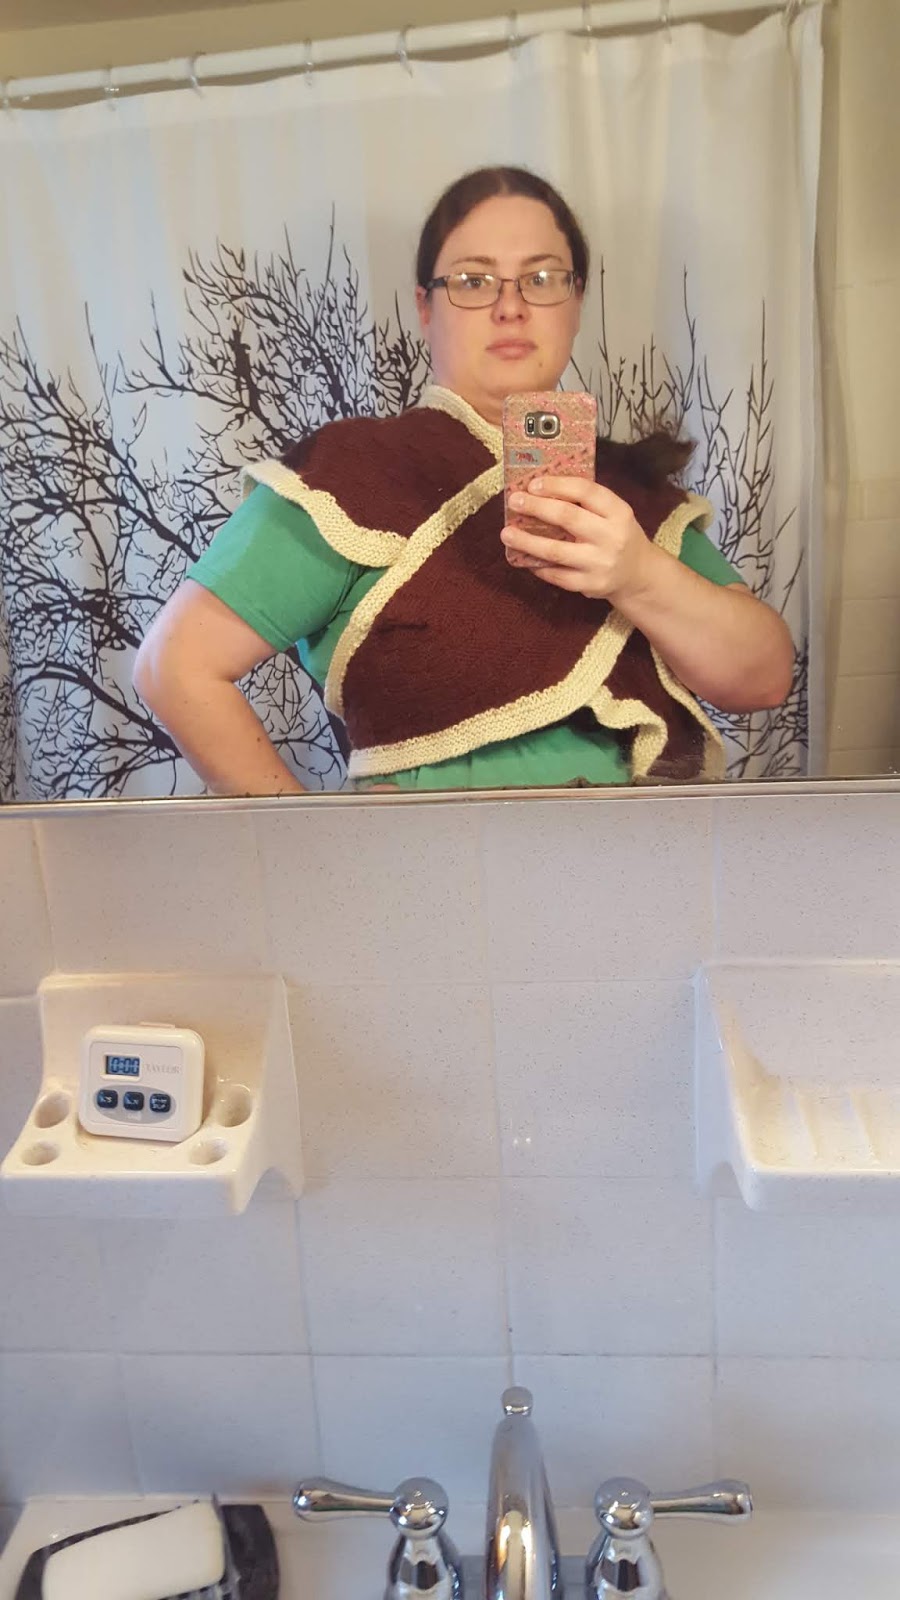

Above: testing fit. Note in the picture where I’m facing left that there is a floppy piece: that is the “corner” from my shaping. In the picture where I’m facing right, you can see a hint of the tuck I used to fold in the excess.


And the finished version, front and back! I’m not really happy with the fix I had to do to tuck that extra corners away, but other than that, I love this finished Sontag! Warm and snuggly, historical, and cute!
Yours,
Sarah
To subscribe, find the “subscribe by email” note in the left column and enter your email there. Posts will be emailed directly to you whenever I post them!
Resource list: Visit my spreadsheet at www.tinyurl.com/infantloss