Hello Friends,
Recently I decided to try to make a maternity-style dress, with the challenges of being able to accommodate different sizes and shapes that a body does during pregnancy. Since different people also carry differently (like high vs. low), the dress does end up being somewhat personalized (such as shoulder-to-waist length), but is much more flexible in sizing than the typical Civil War era dress, especially in the waist. This dress presented some interesting challenges. In the captions I will note some of the issues I encountered with the final product and possible solutions I could implement.
Garment Data:
– Type: Maternity dress, 1860s-style. Long sleeved, day wear.
– Date made: February 2016
– Pattern: self-drafted, based loosely on the pattern my friend Karen drafted for me, and on resources I read on thesewingacademy.org about how maternity dresses were made.
– Fabric/Materials: A heavy fabric I found at goodwill. Possibly meant for drapery and upholstery, this is actually slightly heavier than I’d normally use for a dress, but still light enough that I dared. Quite stiff.
– Trim: Cotton collar and cuffs.
– Time to finish: A few days?
Unfortunately I didn’t get many in-progress pictures as I made it, but I have some detail shots and finished-product pictures, so I’ll share those!
 |
| The fabric. The geometric pattern is good for Civil War era, but the swirly background is modern… |
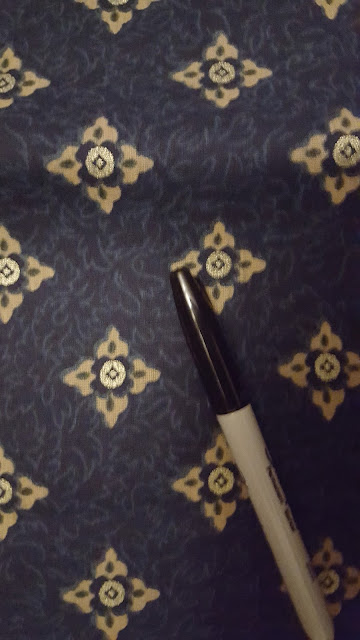 |
| Sharpie for scale 🙂 |
 |
| Detail of the front bodice drawstrings. There is a set like this on either side of the front bodice. I created it by sewing a strip of muslin to the widened bodice front, and then sewed down the middle (I did not sew down the ends). I then threaded a bias tape through both tunnels so that the ends came out next to the front closure. Hope that makes sense! |
 |
The dress, part way done. Note the pins marking where I’ll be putting buttons!
The waist is also bigger than usual, with an 8″ overlap. I can change it to match the size needed, just by moving the hooks that close the waistband. |
 |
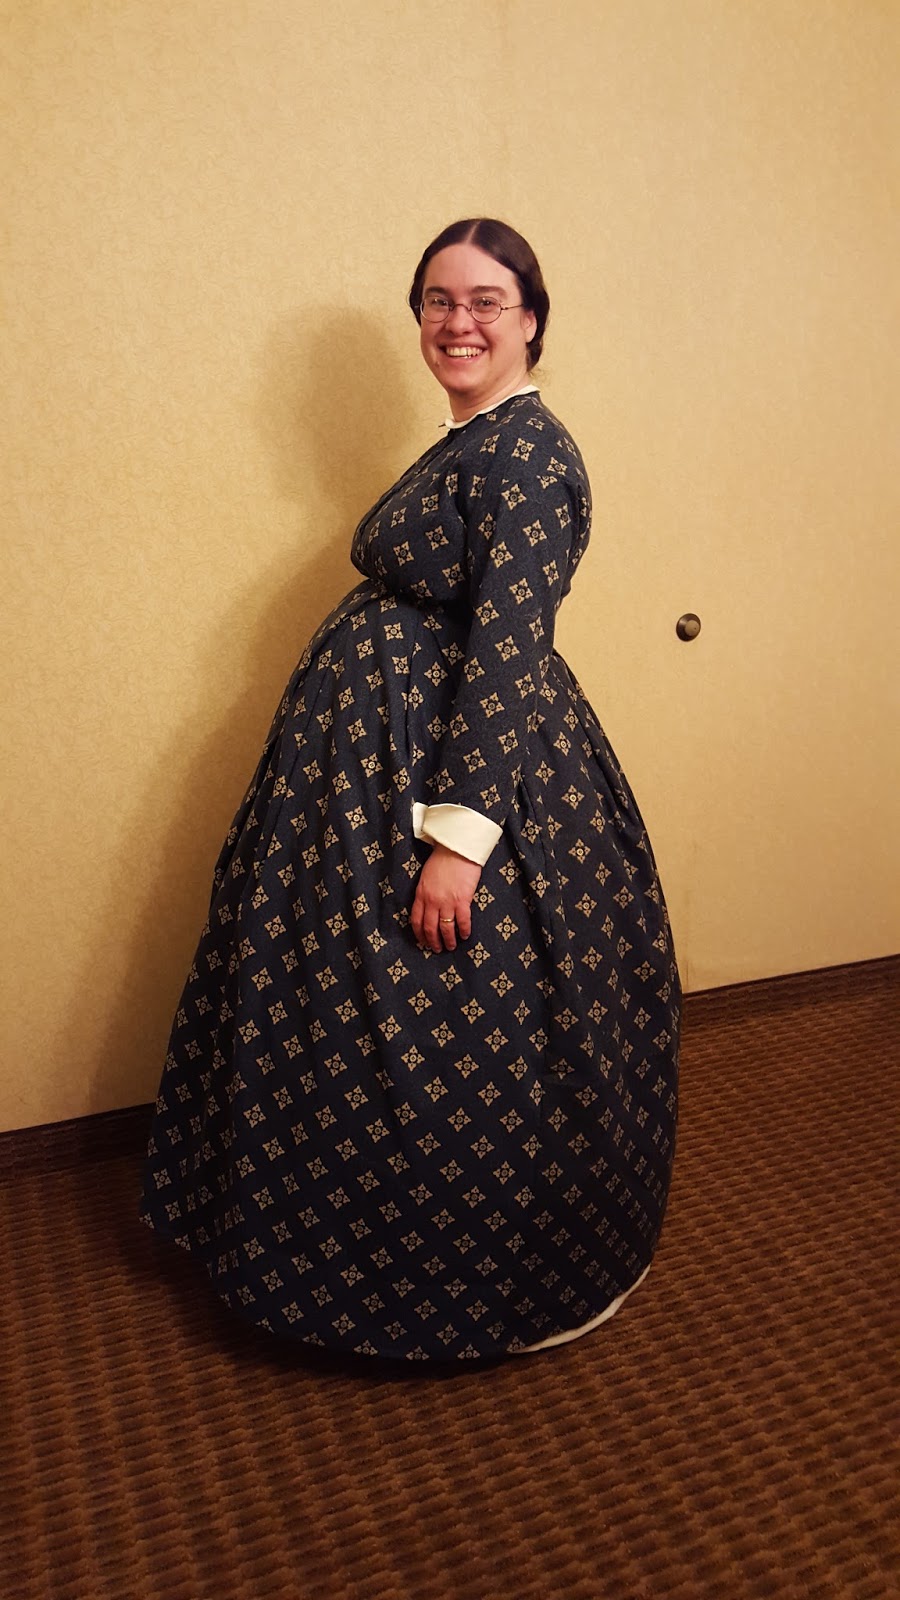
| Seated, with hoops (no corset). While a gestational corset could certainly be used, I did not have one to work with. But since the bodice front is made to be more roomy anyway, the shifted and less structured body works beneath it. |
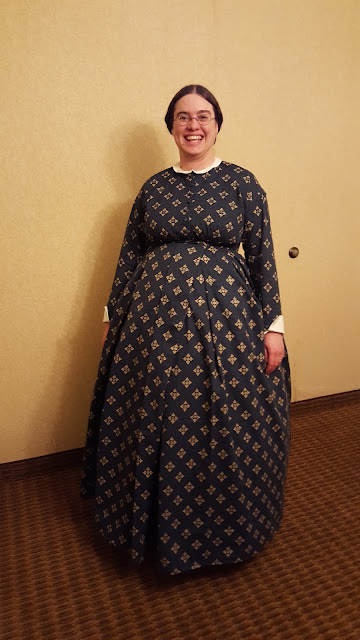 |
| Front view. It buttons down the front. Note that you can see the skirt overlap, and that it falls very un-gracefully. I could probably remedy this partially by making most of the skirt gauged instead of wide pleats, and then I could even have the front portion on drawstrings like the bodice so that it is easier to adjust. |
 |
| Side view. You can see here that the skirt looks a little strained around the circumference of the hoops. I have extra fabric, so if I change from knife pleats to cartridge pleats (gauging), I will also add another panel. This will soften the way the skirt falls, I hope. I will also wash the dress at some point 🙂 and see if the stiffness is partially some sort of sizing. If so, I think it will also hang more naturally after that. |
|
|
 |
| Rear view. They back has not been altered from my normal pattern, so this is pretty standard. YES, I know the petticoat is showing!!! I didn’t know it until I saw the pictures, though… 🙁 I will shorten them soon. The petticoats were also made with a longer waistband than usual, but thus also have the overlap/awkward front problem. I think a partial drawstring waist may be a solution that would work, but I need to see if I can find out what was done. Possibly just resetting the waistband each time it doesn’t fit well? (If you know, please post in the comments below!!!) |
 |
| I also made a new narrow collar and white cuffs. Not perfect, but they work. The cuffs should be rotated more toward the back, but otherwise worked pretty well. |
Most sincerely yours,
~ Sarah