Hi Friends,
As some of you know, we recently experienced a loss in our family. This led me (of course!) to looking into historical customs of mourning, specifically for the American Civil War era (1861-65).
Garment Data:
– Type: Dress, specifically for mourning or half mourning, depending on the accessories
– Date made: August 2016
– Pattern: My personalized Civil War “Day Dress” pattern, drafted by my friend Karen, adjusted slightly at the neckline, and with sleeves I drafted myself. Also, assisted by the Dressmaker’s Guide by Elizabeth Stewart Clark
– Fabric/Materials: Linen, cotton lining/hem facing, polyester chiffon for the veil
– Trim: Nylon velvet ribbon (1-1/2″ and 3/8″), lace (poly?), cotton hem tape (1″ twill tape), plastic buttons, 2 pants hooks for waist closure
– Accessories: Brooch, Belt, Belt buckle, Headband, Veil, Hairnet, Shoes
– Time to finish: approximately 3 days
I was originally intending to make this dress from a light-weight or even sheer wool. However, I could not find it easily locally, and since I had a timeline in which I wanted to make it (I wanted to wear it to the Hale Farm (Ohio) reenactment on August 13th), I needed fabric to be available quickly. As it turned out, I knew someone who had over 6 yards of black linen – and, bonus, a roll of 3-1/2″ black lace! I did a little bit of research to see if that would work. Linen was rare by this point, so it is a bit of a stretch but still possible.
Due to time constraints, as well as budgetary ones, here are the corners I cut:
– I used linen, a material no longer much in use in the 1860s for dresses
– I used a blue print for the lining rather than a polished cotton
– I did not make or use a bias piping on the armscye
– I did not make/cover a bonnet (though I did buy some of the materials…)
– I forgot pockets
– I used poly chiffon instead of crape
In all, though, it came together well! Here are the pictures:
 |
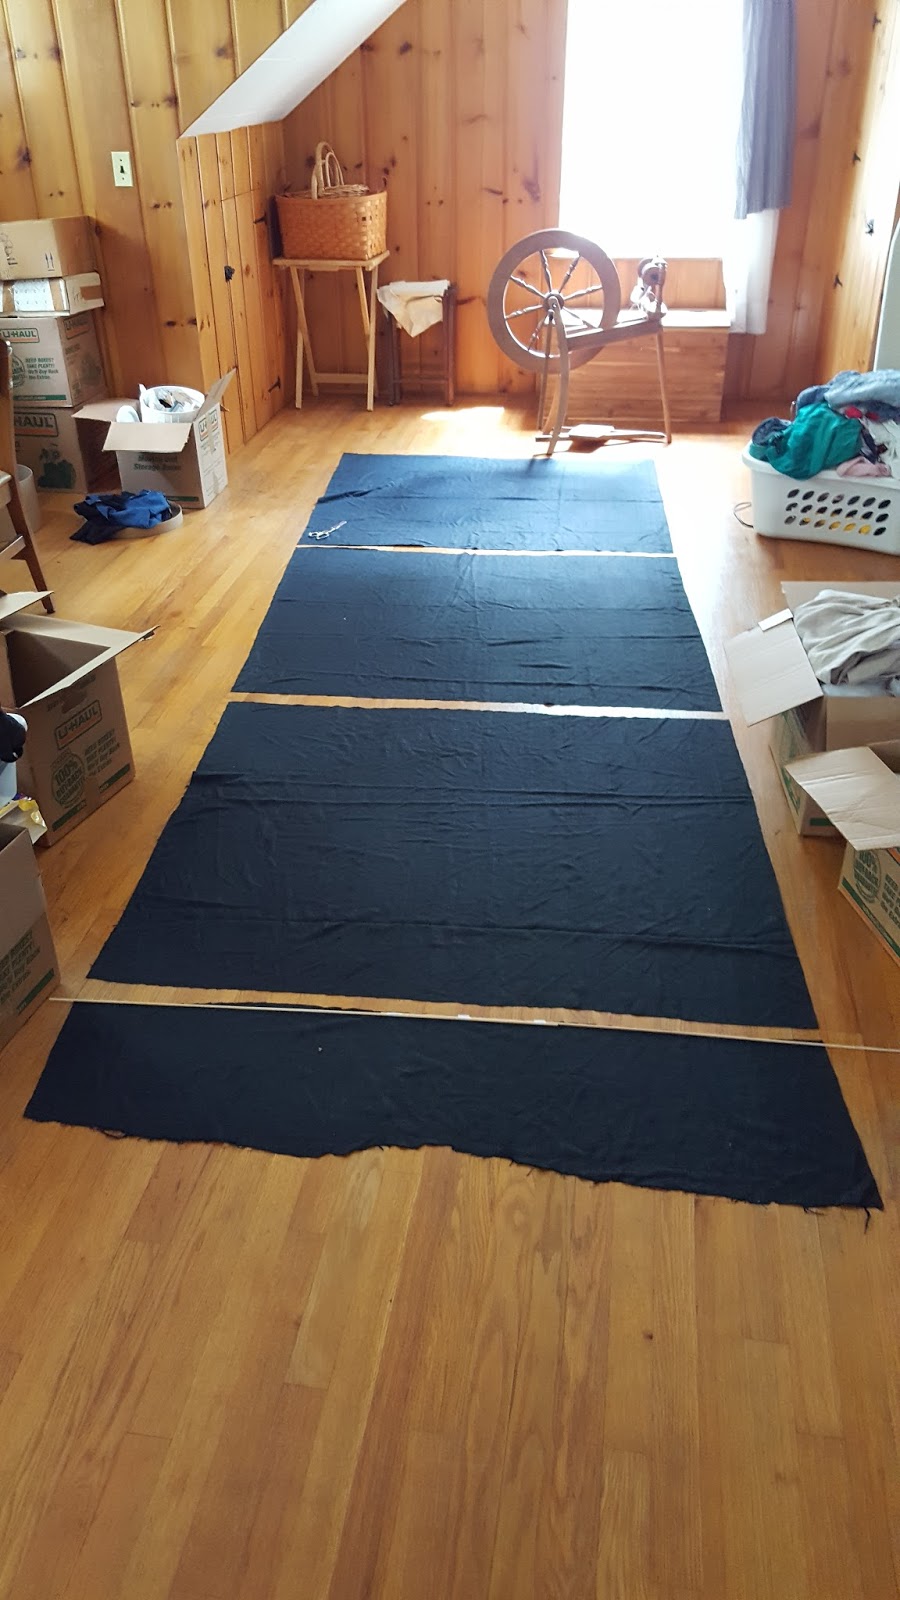
| Cutting the skirt. I based the number of panels on the yardage I had left after cutting the bodice and sleeves. I had enough length left for 3 panels, and they are about 60″ wide, so that was fine. |
 |
| Adding the hem facing at the bottom of the skirt. |
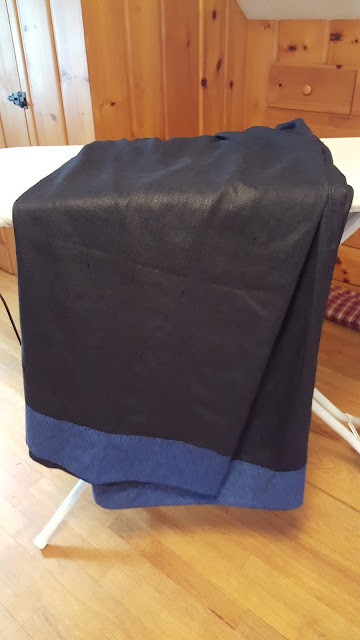 |
| Completed skirt (inside out) showing the hem facing. |
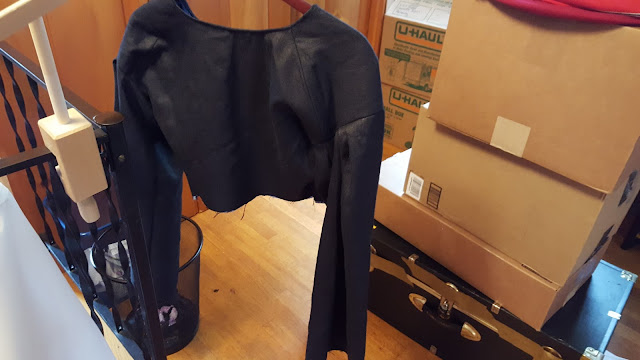 |
| Nearly completed bodice back. Note that the sleeves are still uncuffed. |
 |
| Nearly completed bodice front. Note that I have not yet added darts or finished the front edge. |
 |
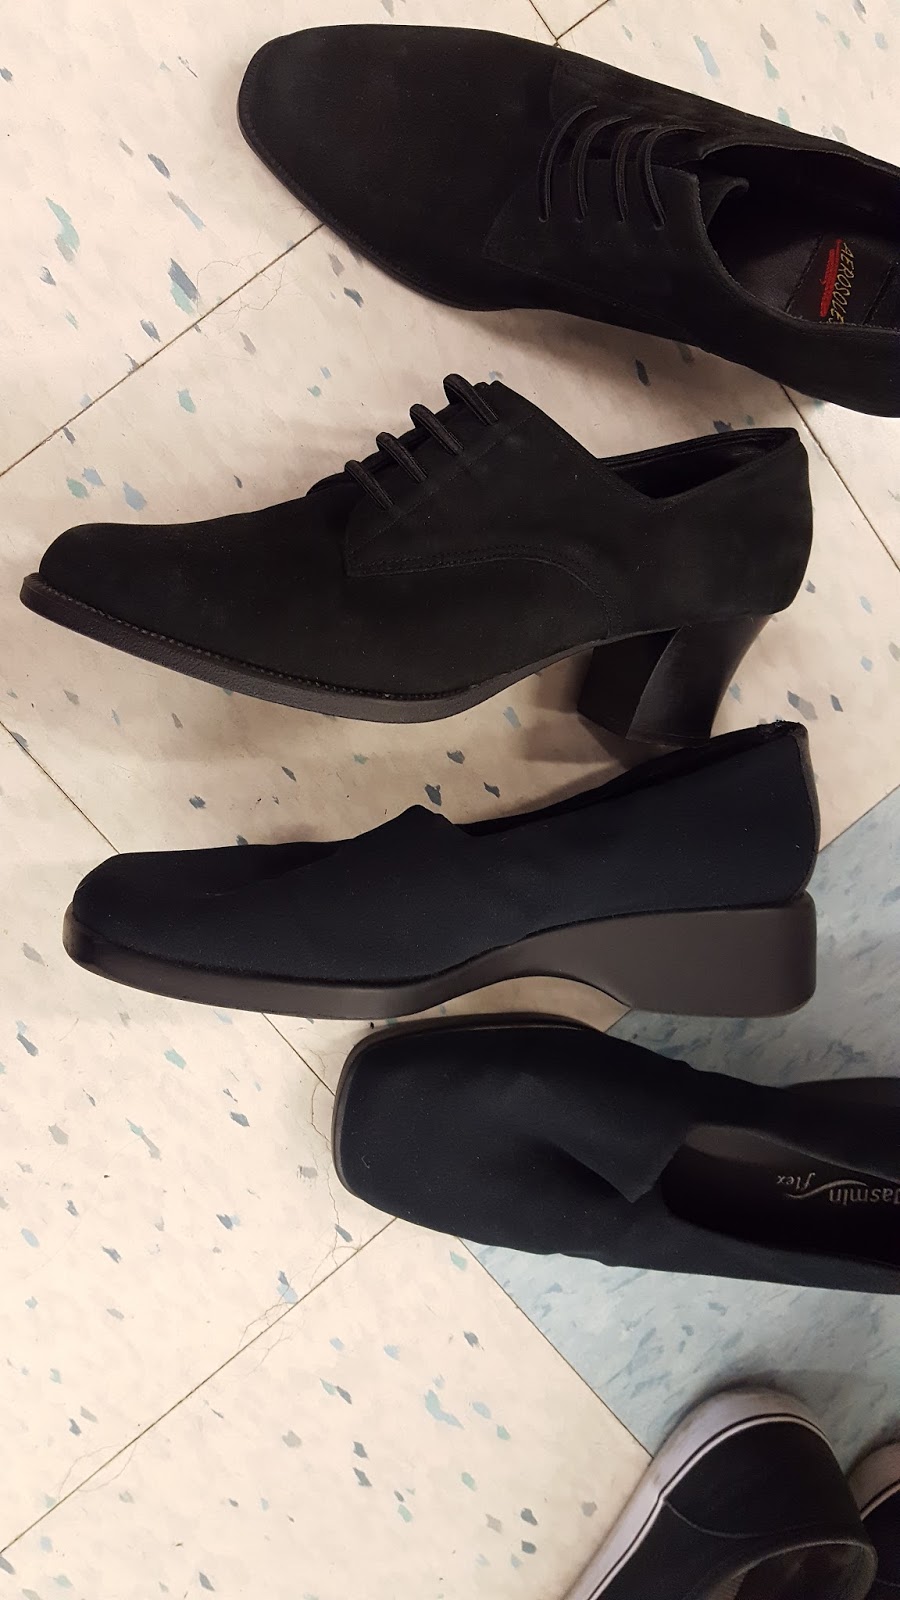
| Shoe options at Goodwill. I realized last minute I had no black footwear that would be even halfway passable!!! I went with the top pair due to the overall look and that they were black. The bottom pair had a thick heel and were gray, which I didn’t like. |
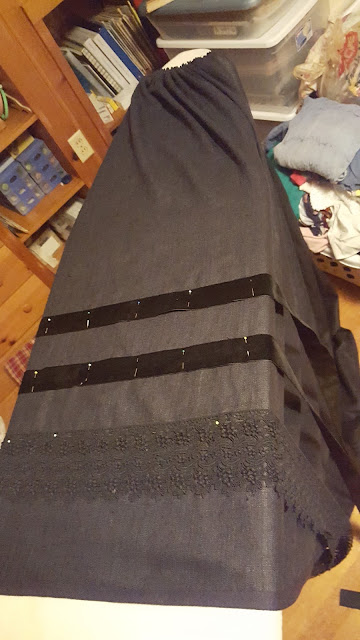 |
| Pinning on the trim. Note that I had already gathered the skirt at this point, using 2 layers of aligned gathering stitches in anticipation of gauging (is that the same as cartridge pleating?). I had tried larger pleats but noticed that the fabric was too bulky, so despite time constraints, I was going to have to gauge the skirt. |
 |
| Laying everything out to make sure I had everything I needed 🙂 |
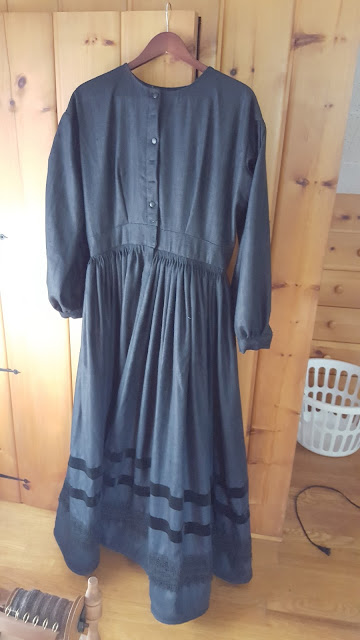 |
| Completed dress!!! Just in time… this is the night before. I would still have to add the waist hooks in the morning, and complete the headdress and belt, but I had the bulk done! Hurrah! |
 |
| At Hale Farm. I am wearing a ribbon headband, a hairnet, veil; period glasses, reproduction brooch, gloves; velvet ribbon belt with reproduction buckle; and the dress. The funny wrinkle-tuck at my waist is because I realized that the way I did the waistband of the dress caused the bodice to be too long. I pinned it up for the duration of this event, and will take it in permanently when I have the chance. |
 |
| Here you can see the line of hem tape as well. |
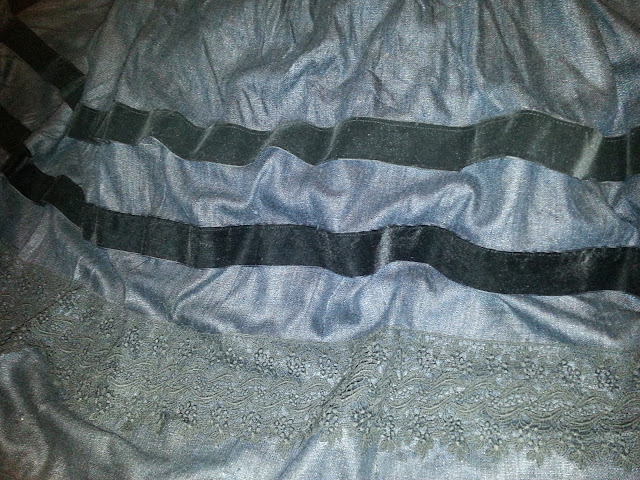 |
| Detail of trim lines at bottom of skirt. They are all sewn on along the upper edge. |
 |
| Dearest husband is the one taking the pictures! 🙂 |
 |
| The reproduction brooch by Elizabeth Aldridge, and the matte plastic shank buttons. |
 |
| Velvet ribbon belt with reproduction buckle by Elizabeth Aldridge. You can see that my “fly” is gaping a little and I had to pin it shut. Not sure how to remedy that. You can also see my hasty pinned tuck to shorten the bodice. I can fix it much more elegantly, but that worked for the day! |
 |
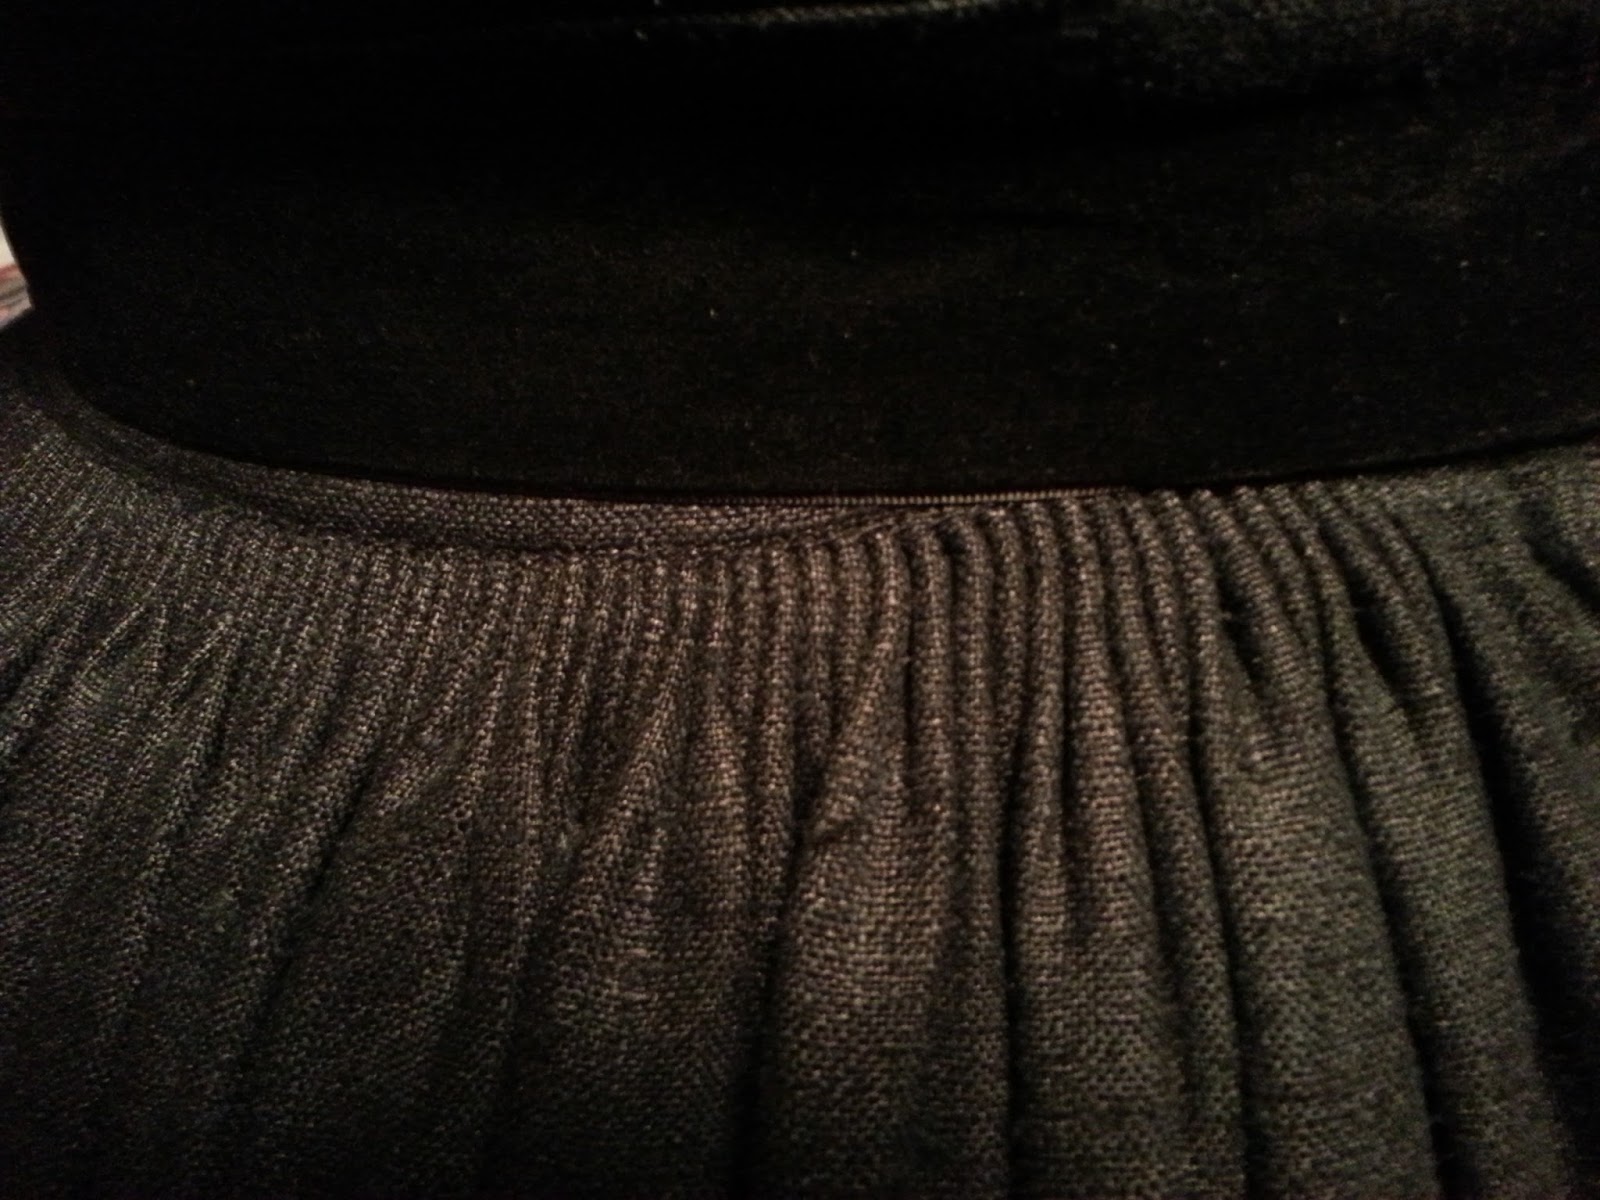
| Close up of the gauging along the waistband. I folded about 3″ of the skirt down, then did pleating stitches in black thread, that stay in the skirt (two parallel lines of stitches, lined up with each other). I then pulled it tight, and matched the skirt to the waistband. I then whip-stitched one side of each pleat to the waistband from the inside, so only the outside edge of the pleat would show from the outside. Time-consuming, but I love the finished effect!!! |
Most sincerely yours,
~ Sarah


I am so proud of you ! I should have known, you would sew in the wake of your loss.
Lovely gown.